
Seed-Starting Mastery #10 - Celery & Celeriac
- Jodi McKee

- Jan 19
- 5 min read
Celery & Celeriac – The Legendary Slow-Burn Divas
How to Grow Perfect Transplants Without Crying Over 150 Days Indoors
Welcome… to the final challenge. If onions were cruel, celery and celeriac are merciless. These are the crops that make seasoned gardeners mutter, “Why did I even start this?”… and then beam with pride when their patience pays off.
Here’s why:
They can take 14–21 days just to sprout. Sometimes longer.
Seedlings grow extremely slowly, you’ll watch them inch along.
They are temperature and light-obsessed: anything less than perfect, and they will sulk.
They require 12–16 weeks indoors before transplant.
But when you finally harvest, the crisp, tender celery stalks and nutty, aromatic celeriac roots will make you forget every tear shed.
If alliums taught surrender, celery teaches patience beyond reason.
Why Celery & Celeriac Are Not For the Faint of Heart
Trait | What It Actually Means |
Tiny seeds | Nearly microscopic, very slow to germinate |
Extremely slow growth | 8–12 weeks to pencil-thin seedlings |
Light-addicted | Needs 16+ hours of bright light; otherwise legginess |
Long indoor stay | 12–16 weeks before transplant — yes, that’s 4 months |
Sensitive to stress | Heat, drought, or nutrient imbalance = bolting or stunted growth |
Heavy feeders | Require frequent fertilization with balanced or calcium-rich feed |
Definitions (Your Reference Section)
Heirloom: Open-pollinated varieties with stable traits passed down for generations. Often prized for flavor.
Hybrid: Crossbred varieties designed for disease resistance, uniformity, or other traits. Seeds from hybrids won’t reliably reproduce true-to-type plants.
Bolting: Premature flowering, usually due to stress or heat, often ruins edible parts.
Damping-off: Seedling collapse caused by fungal pathogens in overly wet conditions.
Pencil-thin transplant: Seedlings that have grown just enough to survive outside but aren’t leggy or stressed.
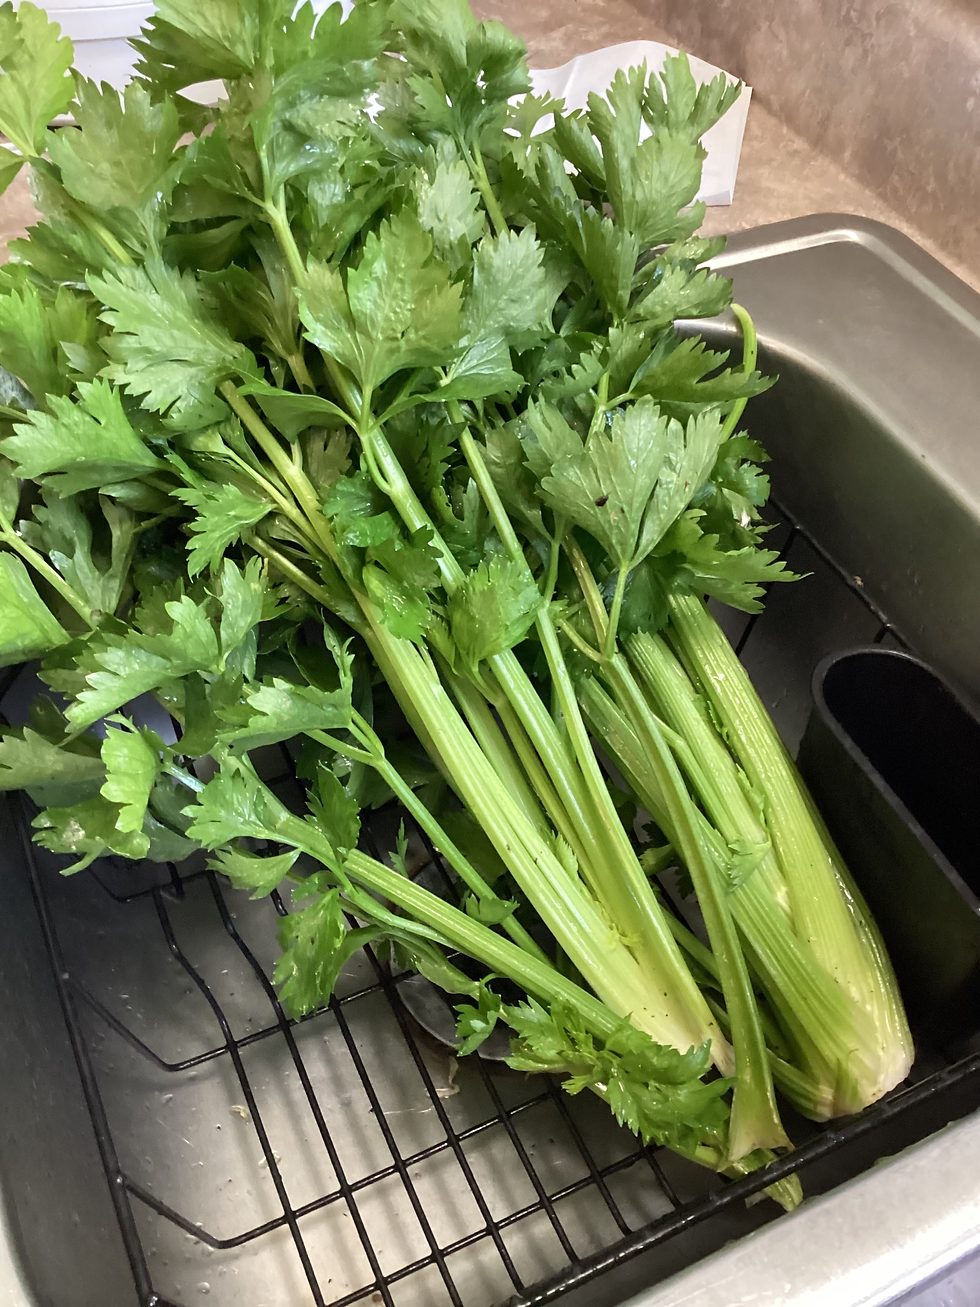
My first ever attempt at growing celery!
The Only Method That Works: Indoor Start With Constant Care
Exact Timeline (Mark Your Calendar in Red):
Gear You Absolutely Need
128–200 cell trays (tiny seeds, many seedlings)
Sterile seed-starting mix
Heat mat set to 70–75 °F for germination
Very bright grow lights (16+ hours/day)
Clear domes, vented carefully
Oscillating fan
Balanced liquid fertilizer + calcium-rich supplement
Patience. Lots of patience.
Step-By-Step Instructions
Day 0 – Sowing
Fill trays with moist, sterile mix.
Surface-sow celery & celeriac seeds — barely press into soil (do not cover).
Cover with a dome, place on a heat mat at 70–75 °F under bright lights.
Day 7–21 – Germination
Celery: 10–21 days for first roots to appear.
Celeriac: 14–21 days for tiny hooks.
Crack the dome slightly once the first sprouts appear to reduce humidity.
Week 3–4 – Thin & Vent
Thin to 1 seedling per cell.
Remove the dome completely.
Lights 2–4 inches above seedlings, fan on low 24/7.
Week 6–8 – Pot-Up #1
Move seedlings to 3–4 inch pots.
Bury up to the first true leaves for celery
Fertilize weekly with balanced or calcium-rich liquid fertilizer.
Week 10–12 – Pot-Up #2 (Optional)
Move to 1-gallon pots for larger transplants.
Continue regular fertilization.
Week 12–16 – Hardening Off
Gradually introduce to outdoor conditions over 7–10 days.
Keep night temps above 50 °F.
Transplant outdoors in rich, moist soil, spaced 8–12 inches for celery, 12–18 inches for celeriac.
My “Worth the Wait” Variety List
Celery (stalk types)
Tango – disease-resistant, flavorful, early
Conquistador – classic, long, crisp
Golden Self-Blanching – sweet, tender, beginner-friendly
Celeriac (root types)
Diamant – smooth, globe-shaped, resistant to splitting
Brilliant – fast-growing, nutty flavor
Prague – heirloom, long keeper, excellent flavor
Herbal tip- Want celery flavor with no drama? Try planting lovage!
Pro Tips That Make the Wait Tolerable
Water carefully: Soil should never dry out completely, but overwatering kills seedlings. Bottom-water after week 4.
Fertilize consistently: Once true leaves appear, feed weekly. Calcium prevents hollow stems.
Light is life: Keep lights close and bright — 16+ hours/day.
Harvest hacks:
Celery: Cut outer stalks first; plant continues producing.
Celeriac: Harvest after first frost for sweetest roots.
Mulch heavily outdoors: Keeps soil cool and moist.
Succession sowing: For a long harvest, sow small batches every 2–3 weeks.
Troubleshooting Chart (Your Life-Saver)
Problem | Cause | Fix |
Zero germination after 21 days | Old seed, too deep, or dry | Use fresh seed, surface-sow, keep moist |
Seedlings fall over & rot | Damping-off | Reduce humidity, ventilate, bottom-water |
Slow growth, tiny leaves | Low light or too cold | Increase light intensity, keep day temps 65–70 °F |
Bolting indoors | Heat stress or overfertilization | Maintain 65–70 °F, moderate feed |
Hollow stems or weak celery | Calcium deficiency | Fertilize with calcium weekly |
The Bigger Skills You Just Mastered
By the time your celery and celeriac transplants finally go outside, you will know how to:
Germinate the tiniest, most finicky seeds successfully
Maintain precise indoor temperatures for months
Pot up multiple times without stunting growth
Feed consistently for long-term development
Accept that patience is part of gardening mastery
Send me a photo when your celery seedlings reach their first true leaves. I’ll be cheering, and secretly proud of every tear you’ve shed.
Final Summary: The Seed-Starting Mastery Journey ✨
Congratulations!
You’ve officially reached the end of the Seed-Starting Mastery series. From the forgiving green beans to the merciless celery and celeriac, you’ve learned more than just how to plant seeds; you’ve mastered the art of patience, observation, and precision.
Here’s what you’ve accomplished:
Temperature Mastery – You now understand which crops need heat, which need cool, and how to maintain the perfect conditions for germination and growth.
Light & Growth Control – You’ve learned how to manage light distance, duration, and intensity to prevent legginess, strengthen stems, and grow stocky transplants.
Potting & Root Management – From cucurbits to tomatoes to celery, you know exactly when and how to pot up seedlings to avoid root-bound disasters and maximize yields.
Feeding & Fertilization – You can now provide consistent, crop-specific nutrition indoors, balancing calcium, nitrogen, and other essentials for healthy growth.
Pest & Disease Prevention – You’ve become a pro at preventing damping-off, tip-burn, powdery mildew, and other indoor seedling threats.
Timing & Patience – Perhaps the biggest lesson of all: you’ve learned to plan and wait, respecting each crop’s rhythm — from lightning-fast beans to slow-growing celery.
Pollination & Harvest Skills – Cucurbits taught you to hand-pollinate; brassicas showed you that timing matters; and peppers, tomatoes, and eggplant reinforced the power of observation.
By following this series, you’ve transformed from a “plant seeds and hope for the best” gardener into a confident, skilled seed-starting strategist. You now have the knowledge, timing, and hands-on skills to grow an incredible garden from seed, no matter your zone or space.
What’s next?
Apply these skills to succession sowing, crop rotation, and experimenting with new varieties.
Share your abundance, and neighbors, friends, and family will marvel at your bounty.
Reflect on each success and failure, every flat, pot, and seedling was a lesson.
Remember: gardening is as much about the journey as it is about the harvest. You’ve proven you can start even the trickiest crops indoors and nurture them to thriving, productive plants. From now on, grocery-store produce will pale in comparison to the fruits (and roots, and leaves, and stalks) of your labor.
Celebrate your achievement: take a moment, step back, and admire your seedlings, your transplants, and the knowledge you now hold.
You are a true Seed-Starting Master. 🌱✨
Happy growing! 🥬✨
-Jodi@HealWise
Continue your journey of growing with my e-book, Harvest & Herb.


Comments